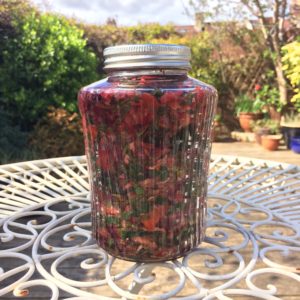
 Fermenting is highly addictive and very good for you. It’s also very easy to do – requiring just the vegetables of your choice, salt and time. Adaptable to your whims and to whatever happens to be in season, fermenting is an age old means of preserving gluts of certain things so you can be enjoying spring ingredients such as Nettles and Wild Garlic throughout the summer and eating Rock Samphire and other coastal delights well into autumn. The fermentation process relies on the action of Lactobacillus bacteria that live, breathing anaerobically, in the salty brine, and, through time transform ingredients into complex and wonderful new flavours. With probiotic goodness, eating fermented food is highly recommended for health. I was a self-confessed chutney addict until I was introduced to kimchi and now, instead, I enjoy this with most meals.
Wild kimchi
Traditional Korean kimchi varies a lot. A simple version might include napa cabbage, daikon radish, onion, scallions, ginger, garlic, gochugaru (Korean red pepper chilli flakes) and maybe carrot. Kimchi often contains shrimp paste or fish sauce which helps give depth of flavour, however I think the vegan friendly version that I dish out on all my spring and summer walks is just as good.
Ingredients:
1/2 White cabbage
1 small or 1/2 a larger red cabbage
1 Red onion
1/2 fresh chillis (depending on how spicy you like it)
4 tbsp fresh grated ginger
4 cloves of garlic
1 Carrot
1 Moulli or 5-10 small radishes
Generous sprinklings of gochugaru Korean chilli powder
Mineral water or foraged Birch sap to top up
1/4 cup of sea salt (approx)
2 tbsp fresh turmeric root, cut finely or grated (optional)
Wild (optional) extras, any of which are great:
Wild Garlic flower buds, seeds, leaves, bulbs or leaf stalks
Sea Spinach
Sea Radish tips and juicy young stems (the seed pods are a lovely addition if making in summer)
Wild fennel fronds, young stems and seeds
Samphire/Rock Samphire
Sea Aster
Nettles
Sea Kale
I haven’t included quantities here – just mix up ingredients in your bowl and let your instincts guide you. For me, once the colours in my mixing bowl balance, I know that kimchi is going to work. I still taste as I go – too much salt (see description below) or hot chilli flakes could spoil a batch.
Method
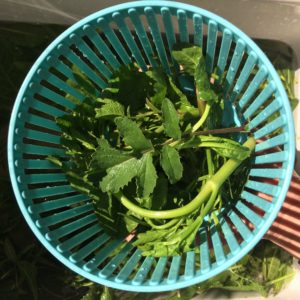
Wash, spin and chop your ingredients then place in a large mixing bowl. Add a little salt and mix the contents with you hands (you may want to wear gloves). Taste to see if more salt is required and carry on adding and mixing like this until it tastes about right – salty but not unpalatable. Basically, there needs to be enough salt to prevent rotting and bear in mind that the saltiness will lessen with time.
Next, leave ingredients for 20 minutes or so, during which time the salt will start to bring out the juices from the vegetables. Massage them to further help this action, then transfer into a large, sterilised jar – I find it best to use a wide necked type, because it makes it easier to keep your kimchi submerged, which is the next step.
Push contents down as much as possible using your fist then place a weight, such as a jar filled with water, the lid on, inside your main jar. This is to weigh the vegetables down and keep them submerged. A certain amount of fiddling is often required to get this right.
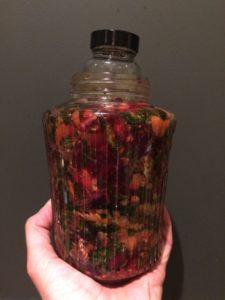
Once fermentation starts taking place (usually after a day or so) the brine level will rise. You may need to adjust your weight and perhaps remove some of the brine to prevent overflowing in these early stages of fermentation. Don’t discard any spare brine as you can add it back to the jar if and when levels fall – this usually happens to my ferments later on when they are in the fridge. I hope this doesn’t sound too complicated- it really isn’t and you’ll find your own way with it. The important thing is to keep kimchi submerged to prevent mould forming. That’s really the only thing that can go wrong and you’ll know if this happens as it will smell ‘off’.
After around a week remove the weight, topping up with water if needed. Pop a lid on the jar then store kimchi in the fridge. It will keep for weeks or even months, the flavours evolving as time goes by. Every batch is slightly different and this is why it’s so exciting!
Spicy flavours will definitely mellow so I like to make kimchi with a fair amount of chilli powder and at least one whole fresh chilli. The gochugaru chilli powder provides flavour rather than heat so don’t be shy with this either.
Really you just need to get involved and you’ll find your own preferences when it comes to method, quantities and ingredients.
More fermenting fun…
Fermented Three Cornered Garlic…

Fermented Ramsons…
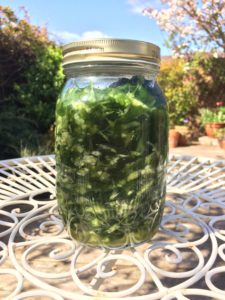
Some soon to be fermenting Nettles
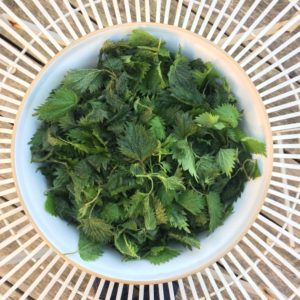
The process for these ferments was the same, only, with just one wild ingredient. These are quicker to make than kimchi and you’ll get the flavour transformation of that particular ingredient. Nettles can be made into pesto and fermented Wild Garlic is REALLY good on sourdough bread with Wild Garlic pesto and some strong cheddar cheese.
These are just a few ideas to get you started – you can make delicious ferments from all sorts of shop bought, home grown or wild foraged ingredients. Enjoy!

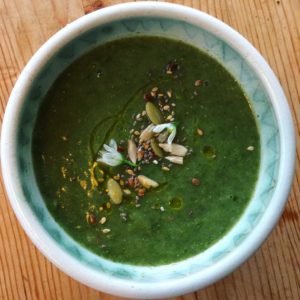 I’m often asked, on my walks how I’ve made the things I bring along for people to try- mushroom pâté, picked seeds, wild kimchi and warming soups are some of the favourites. Here’s the recipe for a very tasty soup I’ve been dishing out during the colder months. It’s different every time, depending which leaves I’ve foraged that day. I added some favourite dried ingredients and just played with the flavours, following my instincts. Whoever said don’t play with your food? Feel free to adapt this recipe according to what you have at hand, wild or bought. I don’t recommend picking Wild Chervil AKA Cow Parsley or Alexanders unless you know the carrot family very well- you might instead use Parsley and Celery.